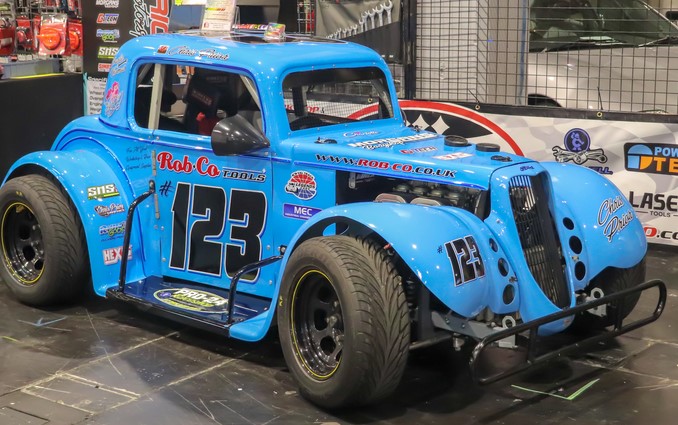
Imagine a machine that looks like it traveled through a wormhole from 1934, but sounds like a screaming 150-mph superbike. You’re standing at the edge of a short-track oval, the smell of high-octane fuel and toasted rubber thick in the air. Suddenly, twenty of these “miniature” monsters roar past, three-wide, drifting through the corners with a wheelbase so short it makes a Go-Kart look like a limousine.
In my ten years of tracking everything from Formula 1 paddocks to local dirt tracks, nothing captures the raw, unadulterated essence of “bang for your buck” racing quite like a Legend Car. I’ve squeezed my frame into these cockpits and felt the terrifyingly beautiful vibration of a motorcycle engine bolted to a tube frame. It’s a category that proves you don’t need a million-dollar budget to feel like a hero.
If you’ve ever wondered why these 5/8-scale replicas are the backbone of modern driver development, this deep-dive into the Legend car body and the mechanics beneath will get your heart racing.
What Exactly is a Legend Car?
Think of a Legend Car as a high-performance motorcycle wearing a classic tuxedo.
Technically, a Legend Car is a “spec” racer—meaning every car on the grid is mechanically identical. This keeps the racing about talent rather than who has the deepest pockets. They are 5/8-scale fiberglass replicas of famous American automobiles from the 1930s and 1940s, specifically the ones that pioneered the early days of NASCAR.
The “Squat” Dimensions
When you see one in person, the first thing that hits you is the scale. They are tiny, yet aggressive.
-
Wheelbase: 73 inches (roughly the length of a sofa).
-
Width: 60 inches (nearly square, which makes them incredibly twitchy).
-
Weight: 1,250 – 1,300 lbs (including the driver).
-
Power-to-Weight: With about 125–140 hp from a Yamaha engine, these cars have a power-to-weight ratio that rivals many modern sports cars.
The Shell: Understanding the Legend Car Body Styles
The Legend car body isn’t just one look; it’s a tribute to an entire era of automotive design. While the chassis underneath is a universal full tube-frame with an integral roll cage, the fiberglass “skin” can be swapped to represent different classic silhouettes.
Popular Body Styles
-
1934 Chevy Coupe/Sedan: Characterized by its rounded fenders and iconic upright grille.
-
1937 Chevy Coupe/Sedan: A slightly more aerodynamic look as the industry moved toward “streamlining.”
-
1934 Ford Coupe/Sedan: Perhaps the most recognizable “hot rod” shape on the track.
-
1937 Ford Sedan: A sleek, sloping rear that looks fast even when sitting still in the pits.
Analogy: If a modern NASCAR Stock Car is a powerboat—heavy and stable—a Legend Car is a jet ski. It’s light, reacts to every ripple in the track, and requires constant input to keep it from spinning out.
Under the Fiberglass: The Technical Soul
While the Legend car body provides the charm, the internals provide the chaos. As an automotive writer, I’ve always been fascinated by the “parts bin” brilliance of these machines.
-
The Engine: Most modern Legend Cars use the Yamaha FZ-09 (an 847cc triple) or the legendary Yamaha FJ1200/XJ1250 air-cooled engines. These are high-revving motorcycle powerplants that utilize a 6-speed sequential gearbox.
-
The Suspension: Simple but effective. They use Bilstein coilovers and a live rear axle (often derived from old Toyota Corolla designs) to handle the torque.
-
The Tires: They run on spec tires (like Hoosier or Federal), which are surprisingly narrow. This is intentional; it keeps the grip levels low so the cars are always sliding, teaching drivers “car control” at its highest level.
Why the “Spec” Nature Matters for You
One of the biggest problems for beginners entering motorsports is “Technical Creep”—the tendency for rules to become so loose that you have to spend $50,000 just to be competitive.
The Legend car body and chassis are strictly regulated by INEX, the international sanctioning body. You aren’t allowed to modify the engine or the body panels. This “Spec Racing” ensures that if you lose, it’s because the guy in front of you took a better line through Turn 3, not because he has a better engine.
Expert Advice: Tips and Hidden Warnings
If you’re thinking about buying your first Legend Car or attending your first race, here is the “insider” knowledge that only comes from being at the track at 6:00 AM.
Tips Pro: The “Asymmetric” Secret
Legend Cars are often set up for oval racing. This means the suspension is Asymmetric. The weight is shifted to one side, and the tires are angled (cambered) to help the car “turn left” naturally. If you take a Legend Car to a road course without resetting the “scaling,” you’ll find the car handles like a dream in one direction and a nightmare in the other.
Hidden Warning: The “Short Wheelbase” Snap
Because the car is so short (73-inch wheelbase), it has very little “polar moment of inertia.” In plain English: it spins faster than you can blink. * The Warning: Beginners often try to “muscle” the car. If the rear end starts to come around and you over-correct with too much steering, the car will “hook” and send you straight into the wall. You have to drive a Legend Car with your fingertips, not your fists.
Fiberglass Maintenance
Unlike steel bodies, fiberglass doesn’t “dent”—it shatters.
-
The Expert Advice: Always keep a “crash kit” in your trailer. This includes Dzus fasteners, racing tape, and a rivet gun. If you have a mid-race “rub” with another car, you’ll need to quickly patch the bodywork so it doesn’t catch the wind and act like a sail.
Scannable Checklist: Getting Started in Legend Racing
-
[ ] Locate an INEX Track: Find a track near you that hosts a Legend series (usually 1/4 or 3/8 mile ovals).
-
[ ] Check the Divisions: Are you a “Young Lion” (12-15), a “Pro,” or a “Master” (40+)? There’s a class for everyone.
-
[ ] Inspect the “Seals”: If buying used, ensure the engine seals are intact. If the INEX seals are broken, the car isn’t legal for sanctioned racing.
-
[ ] Safety Gear: Because the cockpit is tight, ensure you have a HANS device and a custom-molded seat insert to keep you from sliding around.
Summary: The Miniature Masterpiece
The Legend car body represents the golden era of racing, but the performance is strictly 21st-century. It is a category designed to strip away the fluff of modern racing and leave you with the basics: a loud engine, a light frame, and a group of drivers all trying to fit into a space the size of a postage stamp.
Whether you’re an aspiring pro using this as a stepping stone to NASCAR or a weekend warrior looking for the thrill of a lifetime, the Legend Car is the ultimate teacher. It’s small, it’s loud, and it’s one of the most rewarding drives you will ever experience.
Do you prefer the look of the ’34 Ford or the ’37 Chevy? And if you were on the grid today, would you choose the dirt oval or the asphalt road course? Let’s hear your racing dreams in the comments!

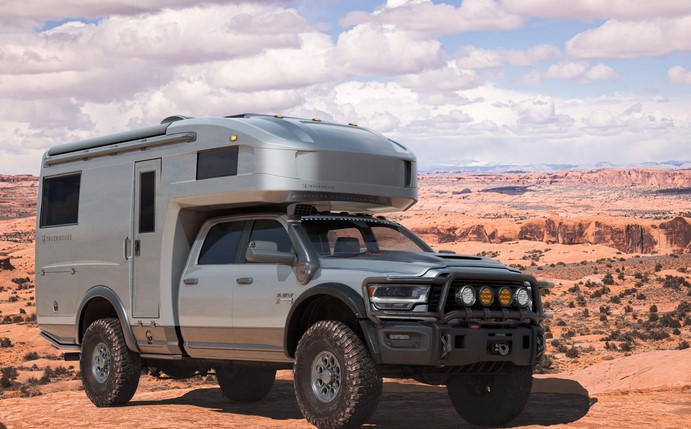
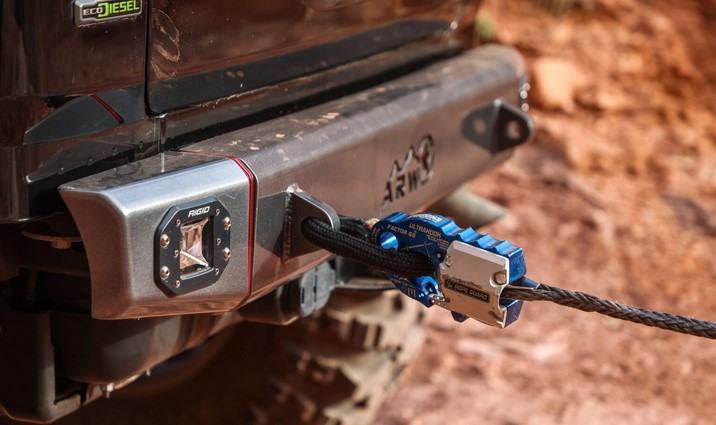
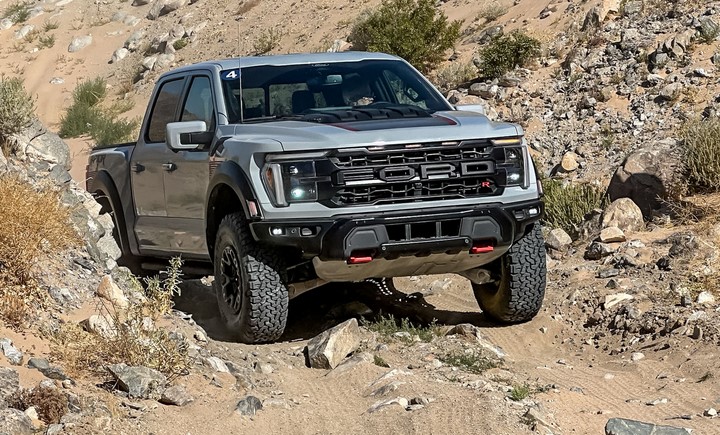 You’re twenty miles deep into a trail in the Australian Outback or perhaps the rugged Highlands of Iceland. The “road” has long since dissolved into a chaotic mix of jagged limestone and knee-deep mud. Suddenly, you hear that dreaded clunk-spin-whine—the sound of a shiny, expensive SUV realizing it’s actually just a glorified grocery getter. In the off-road world, there is a brutal honesty: you either have the mechanical soul to conquer the terrain, or you’re just a pedestrian waiting for a very expensive tow truck.


 Understanding the Importance of Proper Exotic Car Care